


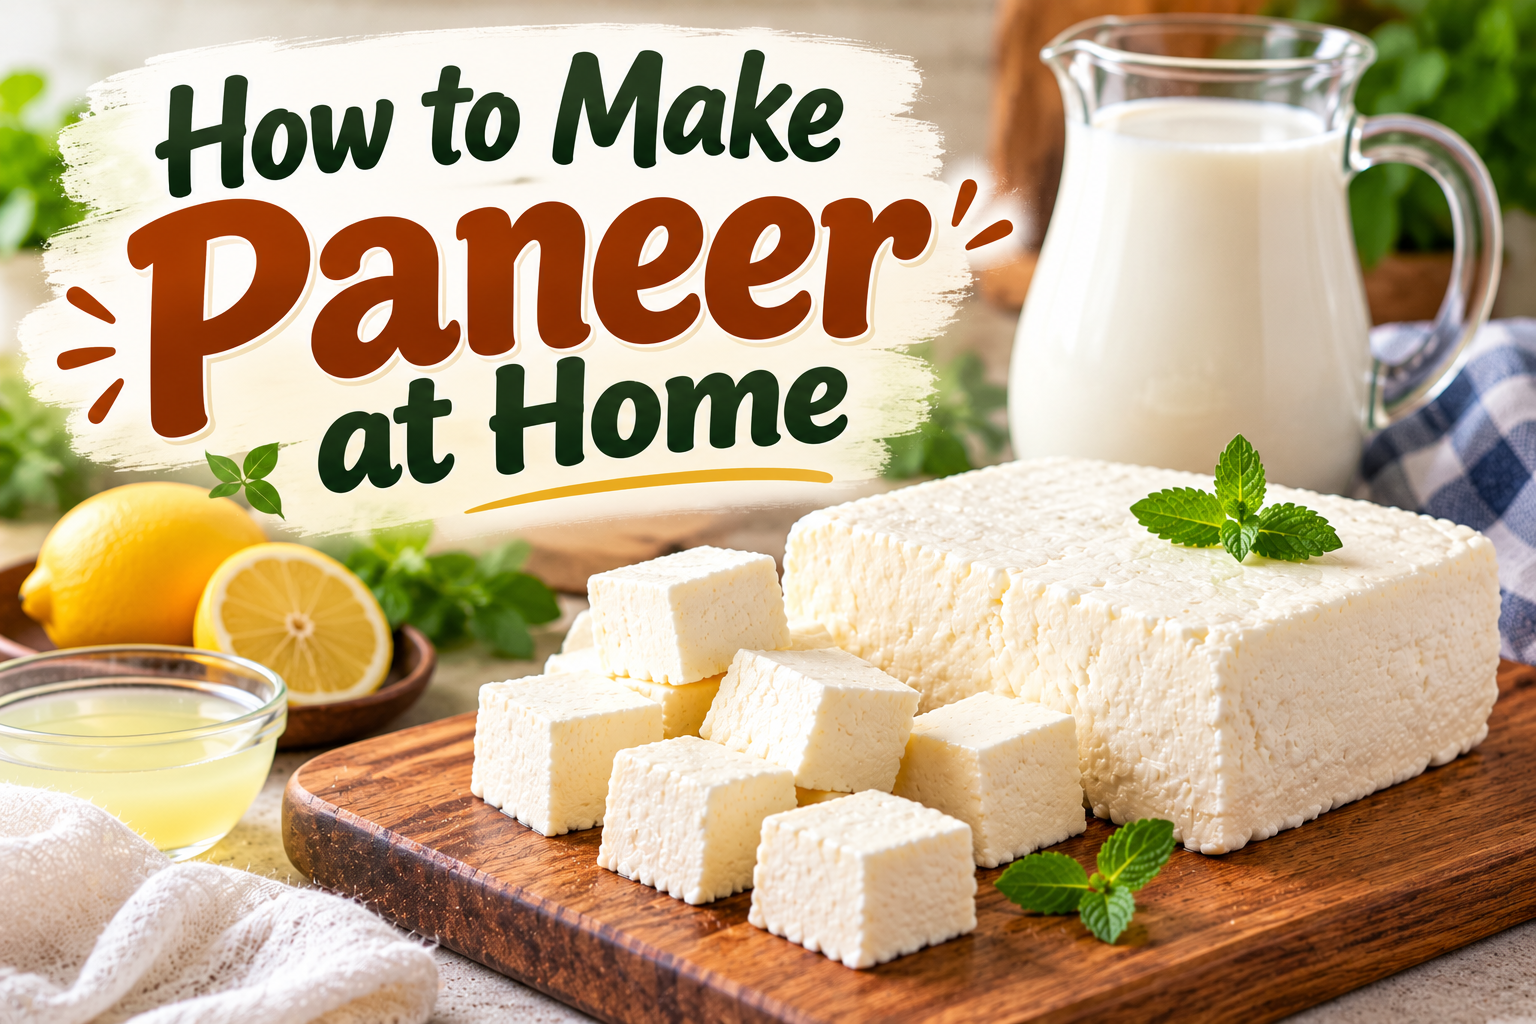
Wondering how to make paneer at home? You only need a few basic ingredients and simple kitchen tools to turn milk into soft, fresh homemade paneer. The basic process is easy: heat full-fat milk, add lemon juice or vinegar to separate the milk solids from the whey, strain the curds, and press them into a block. The result is fresh paneer that you can use in curries, tikka, sandwiches, wraps, bhurji, and many other Indian dishes.
This guide explains how to make paneer from milk step by step, how to make it soft, how much paneer you can get from milk, common mistakes, storage tips, and what to do if you don't want to make it yourself.
Paneer is a fresh Indian cheese made by curdling milk with an acidic ingredient such as lemon juice, vinegar, yogurt, or citric acid.
Unlike aged cheeses, paneer does not need fermentation or aging. Once the milk separates into curds and whey, the curds are strained and pressed to create the familiar paneer block. Paneer also holds its shape when cooked, making it ideal for Indian curries and grilled dishes.
The easiest homemade paneer recipe uses just two main ingredients: full-fat milk and an acidic ingredient such as lemon juice or white vinegar.
Ingredients
For approximately 200 to 250 grams of paneer:
1 liter full-fat milk
2 to 3 tablespoons lemon juice or white vinegar
½ cup water for diluting the acid
Muslin cloth or cheesecloth for straining
The final yield can vary depending on the milk's fat and solids content and how much moisture you remove while pressing.
Pour the full-fat milk into a heavy-bottomed pot.
Heat it over medium heat and stir occasionally so the milk does not stick to the bottom.
Bring the milk to a boil or to the point where it is steaming and ready to rise. Using full-fat milk generally gives better results than low-fat or skim milk.
Reduce the heat once the milk is hot.
Mix your lemon juice or white vinegar with a little water, then add it gradually to the milk while stirring gently.
You should start seeing the milk separate into white curds and pale, watery whey.
Don't add all the acid at once. Add it gradually until the separation is complete.
Continue stirring gently until you can clearly see the white paneer curds separating from the whey.
Once the milk has separated, turn off the heat.
Let it sit for a few minutes so the curds can separate properly.
If the liquid still looks very milky and the curds have not separated completely, you may need a small additional amount of lemon juice or vinegar.
Place a muslin cloth or cheesecloth over a strainer.
Carefully pour the curdled milk through the cloth.
The liquid whey will drain away while the paneer curds remain inside the cloth.
Be careful at this stage because the curds and whey will still be hot.
Rinse the curds gently with cool water.
This helps stop the cooking process and can reduce any strong lemon or vinegar flavor left in the paneer.
Let the excess water drain.
Gather the cloth around the paneer and gently squeeze out excess liquid.
Wrap the curds tightly in the cloth and place them on a flat surface.
Put a heavy object on top to press the paneer into a block.
For softer paneer, use less pressure and a shorter pressing time. For firmer cubes that hold their shape well in curries or grilling, press it longer.
Once the paneer has firmed up, remove it from the cloth.
Cut it into cubes, slices, or whatever shape your recipe requires.
Your homemade paneer is now ready to use.
Making paneer is relatively quick.
| Stage | Approximate Time |
|---|---|
| Preparing ingredients | 5 minutes |
| Heating milk | 10–15 minutes |
| Curdling | 2–5 minutes |
| Straining | 5–10 minutes |
| Pressing | 20–60 minutes |
| Total | About 40–90 minutes |
The actual active cooking time is short. Most of the additional time comes from draining and pressing the paneer.
A general estimate is around 200–250 grams of paneer from 1 liter of full-fat milk, although the exact amount varies.
Milk composition, fat content, the type of milk used, and how firmly you press the paneer can all affect the final yield.
If you need more paneer for a family meal or party, simply increase the amount of milk.
Soft paneer is ideal for dishes such as palak paneer, paneer butter masala, matar paneer, and creamy gravies.
Follow these tips:
Use full-fat milk.
Don't overheat the milk after it has separated.
Add lemon juice or vinegar gradually.
Don't use excessive acid.
Rinse the curds after straining.
Don't squeeze the curds too aggressively.
Avoid pressing the paneer for too long.
Store fresh paneer properly after preparation.
The amount of pressing has a major effect on texture. Less pressing leaves more moisture and produces softer paneer, while longer pressing creates a firmer block.
Both work well for making paneer, but they can produce slightly different results.
| Ingredient | Result | Best For |
|---|---|---|
| Lemon juice | Mild, soft texture | Curries and everyday cooking |
| White vinegar | Faster, firmer curds | Paneer cubes and grilling |
| Yogurt | Soft and moist | Traditional variations |
| Citric acid | Firm curds | Consistent batches |
If you're making paneer for the first time, lemon juice or plain white vinegar are simple options.
If the milk isn't separating, there are several possible reasons.
The milk needs to be sufficiently hot for the acid to separate the curds from the whey.
Add a little more diluted lemon juice or vinegar gradually and stir gently.
Full-fat milk generally gives better results and higher yield than very low-fat milk. Some highly processed or ultra-pasteurized milks can also behave differently during cheesemaking.
Adding the acid gradually gives you better control over the curdling process.
Rubbery paneer usually comes down to texture and moisture control.
Possible causes include:
Overcooking the curds
Using too much acid
Pressing the paneer too hard
Pressing it for too long
Using low-fat milk
Not controlling the heating and curdling stages
For softer paneer, focus on gentle handling and shorter pressing.
If your paneer falls apart easily, it may have been over-curdled, over-pressed, or made with milk that doesn't provide enough fat and solids.
Try using full-fat milk and pressing the curds more gently.
You can also avoid excessive stirring once the curds have separated.
Fresh homemade paneer should be refrigerated.
After it has cooled, place it in an airtight container. You can also keep paneer submerged in fresh cold water in the refrigerator to help retain moisture.
For the best quality, use homemade paneer within a few days and check it for changes in smell, appearance, or texture before using.
If you need to keep paneer for longer, freezing is another option, although freezing can change its texture.
Yes, paneer can be frozen.
Cut it into portions before freezing so you only need to thaw what you plan to use.
After thawing, the texture may be slightly different from freshly made paneer, but it can still work well in many cooked dishes.
Fresh paneer works in many Indian vegetarian dishes.
Try it in:
Palak Paneer
Paneer Butter Masala
Kadai Paneer
Matar Paneer
Shahi Paneer
Paneer Tikka
Paneer Tikka Masala
Paneer Bhurji
Chilli Paneer
Paneer Paratha
Paneer Sandwiches
Paneer Wraps
Fresh paneer can also be pan-seared with spices and vegetables for a quick vegetarian meal.
Both options have their place.
| Homemade Paneer | Ready-Made Paneer |
|---|---|
| Made fresh at home | Ready to use |
| You control the ingredients | Convenient |
| Requires preparation time | Saves cooking time |
| Texture can be customized | Consistent and convenient |
| Requires milk and an acid | No preparation required |
| Good for weekend cooking | Useful for quick meals |
Making paneer at home is simple, but it still requires heating milk, separating curds, draining, pressing, and cleaning up afterward.
If you have the time, homemade paneer can be a satisfying option. If you're preparing dinner quickly, ready-made paneer can save considerable time.
Short on time? Skip the homemade paneer process and pick up ready-made paneer from Vraj Fresh. Vraj Fresh offers ready-made paneer options for quick meals, curries, tikka, and everyday Indian cooking.
Learning how to make paneer at home is easier than it may seem. With full-fat milk, lemon juice or vinegar, a clean cloth, and a little pressing time, you can make fresh paneer for curries, tikka, sandwiches, wraps, and other vegetarian dishes.
But making paneer from scratch does take time. You have to heat the milk, wait for it to curdle, strain the whey, press the curds, and then clean everything afterward.
Don't want to make paneer at home? No problem. Vraj Fresh has ready-made paneer options available, so you can skip the curdling and pressing and get straight to cooking. Choose from options such as Haldiram's Fresh Paneer and Swad paneer varieties, available through Vraj Fresh.
Heat full-fat milk, add lemon juice or white vinegar gradually until the milk separates into curds and whey, strain the curds through a muslin cloth, rinse them, and press them into a block. Once firm, cut the paneer into cubes and use it in your favorite recipes.
Full-fat milk is generally the best choice for homemade paneer because it tends to produce a better yield and softer texture than low-fat or skim milk.
One liter of full-fat milk can produce roughly 200–250 grams of paneer, although the actual yield depends on the milk and how much moisture is removed.
Yes. Lemon juice is one of the simplest acids for making paneer. Add it gradually to hot milk until the milk separates into curds and whey.
Yes. Plain white vinegar can be used to curdle milk and make paneer. Diluting the vinegar with water and adding it gradually can make the process easier to control.
Paneer can become hard or rubbery if it is overcooked, pressed too firmly, or pressed for too long. Full-fat milk and gentler pressing can help produce softer paneer.
The pressing time depends on the texture you want. A shorter pressing time creates softer paneer, while longer pressing produces a firmer block that holds its shape better for grilling and curries.
Homemade paneer is best used within a few days when properly refrigerated. Keep it covered or submerged in clean cold water and discard it if it develops an unusual smell, appearance, or texture.
Yes. Paneer can be frozen in portions and thawed when needed. Freezing may slightly change its texture, but it remains useful for many cooked dishes.
Homemade paneer gives you control over the milk, acid, texture, and freshness. Store-bought paneer is more convenient because it is already prepared and ready to cook.


